About this pack
13 Videos
What to expect from Balancing Postures?
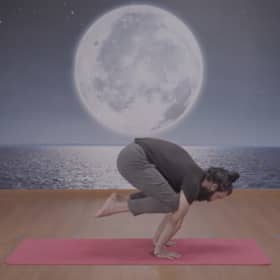
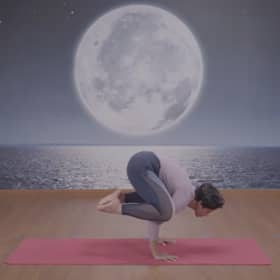
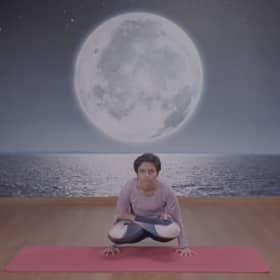
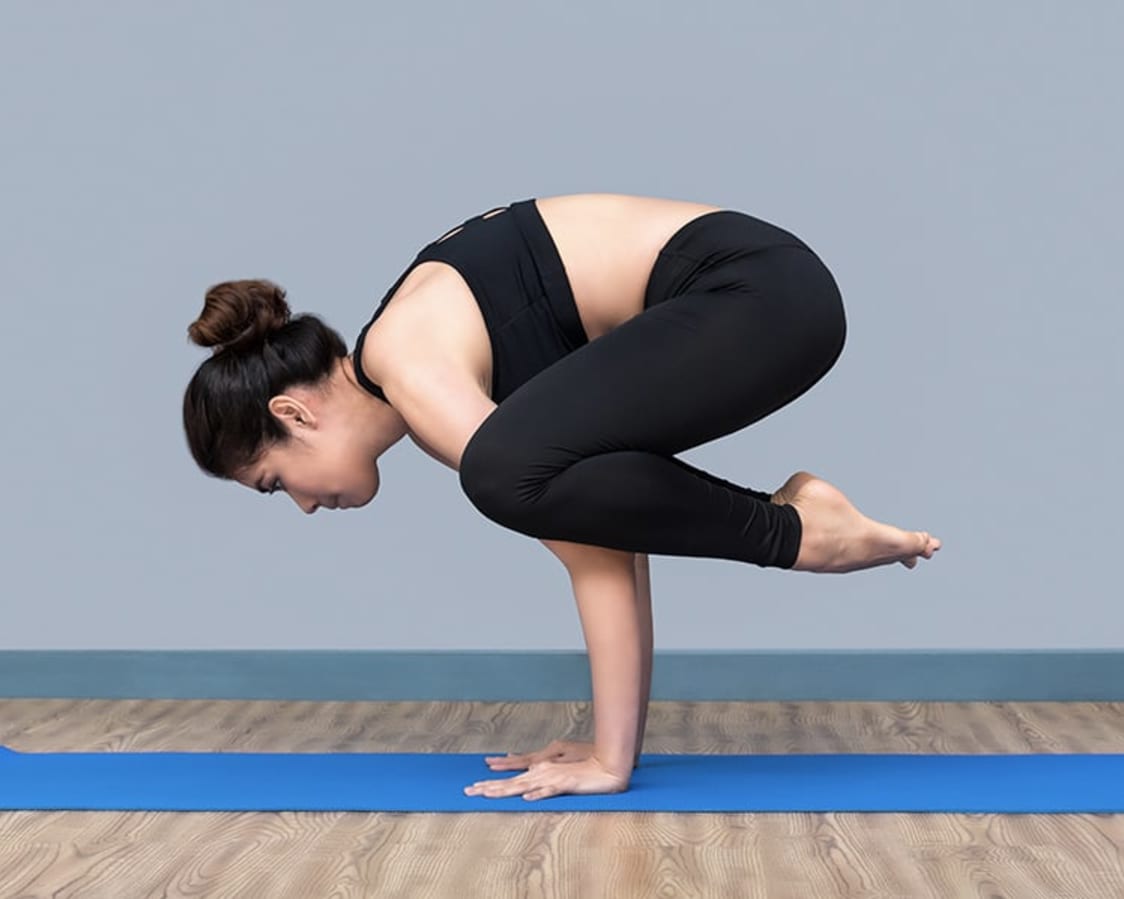
About Bakkasana: We start off with a yoga pose called Bakkasana or the crane pose. You need to gradually get into this pose by lifting up your legs behind with your hands placed firmly on the ground and hold it for about 45 seconds. This pose strengthens your forearms, wrists and shoulders.
Other Yoga asanas:
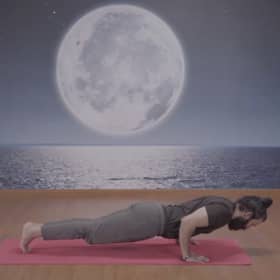
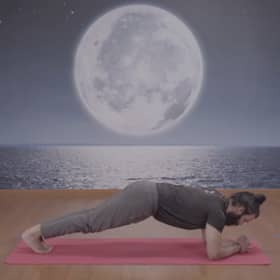
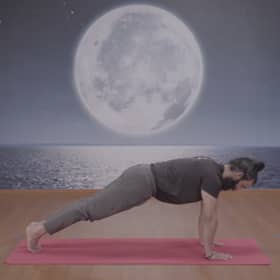
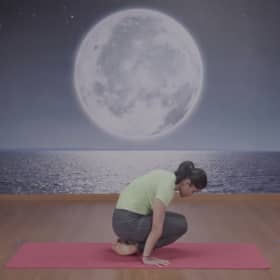
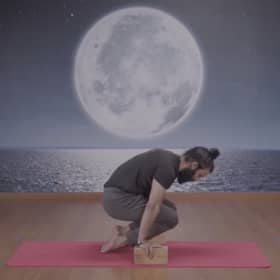
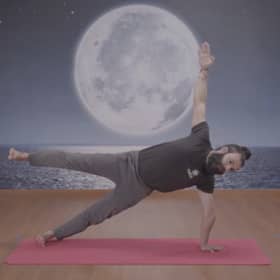
After this, we move onto another yogasana called Chaturanga Dandasana that primarily works on your core muscles. Now, since this is a difficult pose to hold, you can only hold this pose for a few seconds. Once you have completed these two asanas, you will find the other asanas relatively easier. Other yogasana postures such as Dandasana, Kakasana, Lolasana, Merudandasana, Navasana, Salamba Sirsana and more are also incredibly effective asanas that work on a variety of different body parts and help improve your flexibility and endurance.
When to practise:
You can practise these asanas every day. Moreover, as these sessions are short ones of just about a minute each, you can easily fit them into your daily schedule no matter how busy you are. If you are ready to work towards a fitter and stronger you, let’s get started with the first session.
What are Balancing Postures?
Uncoordinated movements and lack of balance can lead to frequent injuries. To avoid this issue, you can perform yoga balance poses. These balancing asanas aim to improve your muscle coordination and also encourages better body postures. Balancing yoga asanas also develops concentration at the mental and emotional level while removing stress and anxiety. Some of the most popular yoga balance poses are Surya Namaskar, Bakkasana, Chaturanga Dandasana, and Kakasana.
How Effectively Can We Dos Balancing Postures at Home?
Unlike the common belief that you need to go to a yoga studio or gym to do effective balancing asanas, you can perform them at home too. These yoga balance poses just need a few props such as a yoga mat, comfortable clothes, and a quiet place. You can also involve family members to make Online Yoga Classes sessions more productive and fun.
Who Can Do Balancing Postures?
Since yoga balance poses are mostly gentle, they can be done by anyone, irrespective of their age and fitness level. You can also consult a yoga expert to know which balancing asanas are suitable for you.
Who Should Avoid Balancing Postures?
While anyone can do balancing asanas, some people should avoid them if: They are suffering from cardiovascular diseases or hypertension. They have gone through surgeries. They are pregnant or are menstruating. They are experiencing any sprains or strains after performing leg balance asanas.
List of Best Balancing Postures
Yoga balance poses include both sitting yoga poses and standing yoga poses. Some of the best ones are as follows: Navasana Salamba Sirsasana Vrikshasana
Explain Above mentioned postures step wise
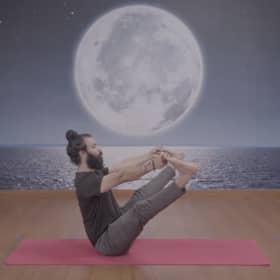
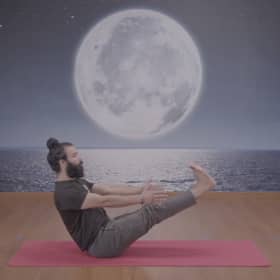
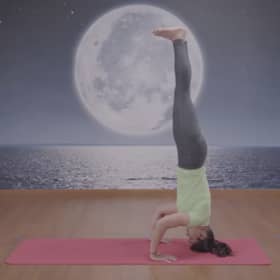
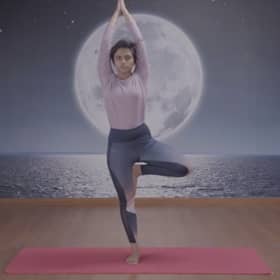
Navasana Also known as the Boat Pose, navasana is one of the best balance yoga poses for beginners. It helps in improving abdominal strength while helping you build your balance. It also works on the hip flexors. Step-By-Step Guide Sit straight with bent knees and feet on the floor. Now, lift your feet off the floor and slowly bring the shins ahead in such a pose that they are parallel to the floor. The pose will look like a half boat. Straighten the legs at around 40-45 degrees but keep the torso upright as to make a V shape with the legs. Roll your shoulders back and keep your hands straight so that they are roughly parallel to the floor. Balance your body on the sit bones and stay in the pose for 2-5 breaths. Exhale when releasing the legs and inhale while sitting up. Duration: Begin by holding this pose for 30 seconds. With practice, you can work up to one minute. Salamba Sirsasana Salamba Sirsasana or Headstand is one of the difficult balancing yoga asanas in which your body is supported by your forearms and head than your feet. This is one of the most advanced hand balancing asanas and requires a lot of practice. Step-By-Step Guide Kneel with your head on the floor. You can use a soft cushion and blanket for support. Now, place your forearms on the floor after you interlace your fingers. Gently lift your knees off the floor while keeping your head on the cushion. Now, lift through your thighs so that your body forms an inverted ‘V’. Push the shoulder blades against your back. While exhaling, lift both your feet perpendicularly to the floor. Your body will look like a straight line. Hold this position as long as you can. Duration: Hold Salamba Sirsasana for about 10 seconds as a beginner. You can increase this duration up to 5 minutes with regular practice. Vrikshasana Vrikshasana is a type of balancing postures in which you have to stand straight and steady like a tree. In most yoga standing balance poses, you have to close your eyes but vrikshasana needs you to keep open your eyes for maintaining your balance. Step-By-Step Guide Stand straight and keep your arms to the side of your body. Bend your right leg to the knee and set your right foot on your left thigh. It should be placed on the root of the thigh. Keep the left leg straight and adjust your body to make balance Take a deep breath and raise your both arms to make a hands-folded position. Keep the spine straight and relax while exhaling. With the exhalation, bring your hands down. Release the right leg gently. Repeat the process by place your left leg on the right thigh. Duration: Once your place your fight on the thigh, try to hold that position for 20 to 60 seconds.
Benefits of Doing Balancing Postures
When it comes to the benefits of yoga balance poses, it can range from physical to mental balance. Here are some of the most important benefits you can expect from yoga balance poses: Whether you perform hand balancing asanas or one leg balance yoga poses, all balancing postures improve your overall body coordination and balance. Balance postures also strengthen muscles and joints. They also improve concentration and memory while relieving stress and inner tension. Practicing yoga balance poses leads to a balanced body and mind.
Disadvantages of Doing Balancing Postures
Yoga balance poses also has some minor disadvantages which are as follows: You may fall while performing hand balance yoga poses. Arm balance asanas may lead to injuries if not done properly. Hand balancing asanas are not safe for pregnant women. Performing balance when have gone through surgery may lead to complications.
Dos & Don’ts
Do’s Always perform the yoga balance poses on empty stomach. Do the warmup poses or pranayama for beginners before doing difficult yoga postures. Wear comfortable clothing to facilitate easy movements while doing yoga standing balance poses. Don’ts Do not perform hand balance yoga poses when you are pregnant. Do not rush when performing yoga balance poses to avoid injuries. Avoid yoga balance posesafter surgeries.
Things Required to Do Balancing Postures if You Are at Home & Gym?
Below are some things that you can use to perform yoga balance poses whether you are at home or gym: A Yoga Mat A Water Bottle A Clean Towel Comfortable Clothes such as Yoga Pants
Top Searches
Dentist Near Me | Gynaecologist Near Me | Dermatologist Near Me | Endocrinologist Near Me | Pulmonologist Near Me | Cardiologist Near Me | Orthopedist Doctor Near Me | Thyroid Test | Pregnancy Test | Full Body Checkup | Kidney Function Test | Therapist Near Me | Online Counselling | Physiotherapist Near Me

